Access Denied
IMPORTANT! If you’re a store owner, please make sure you have Customer accounts enabled in your Store Admin, as you have customer based locks set up with EasyLockdown app. Enable Customer Accounts
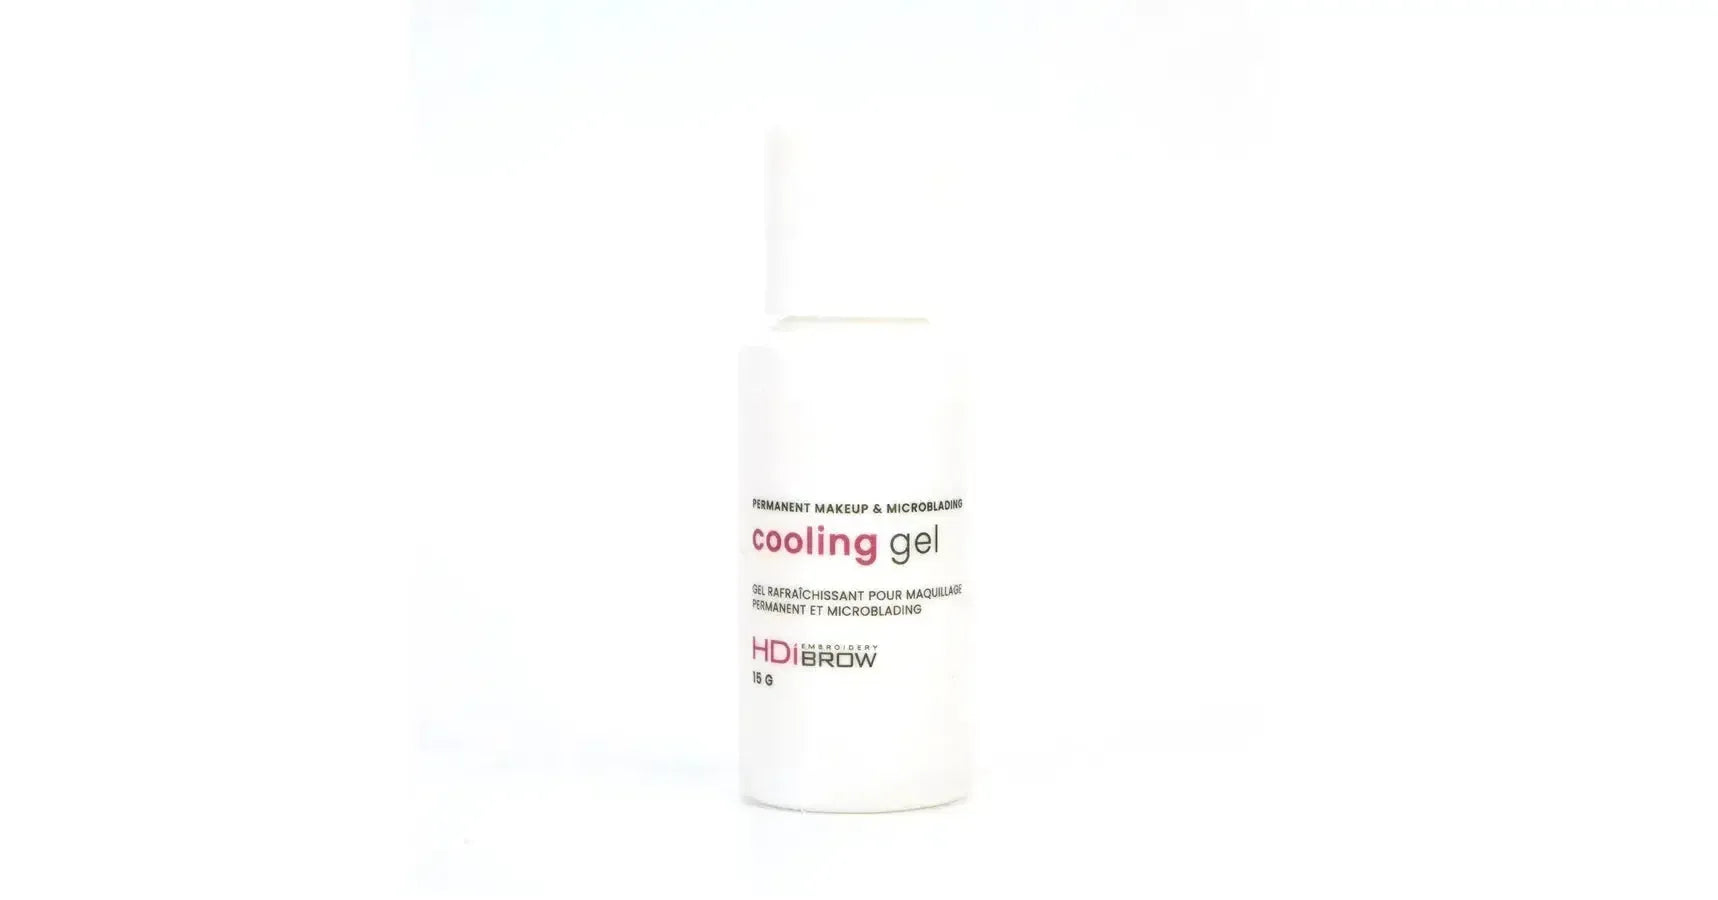
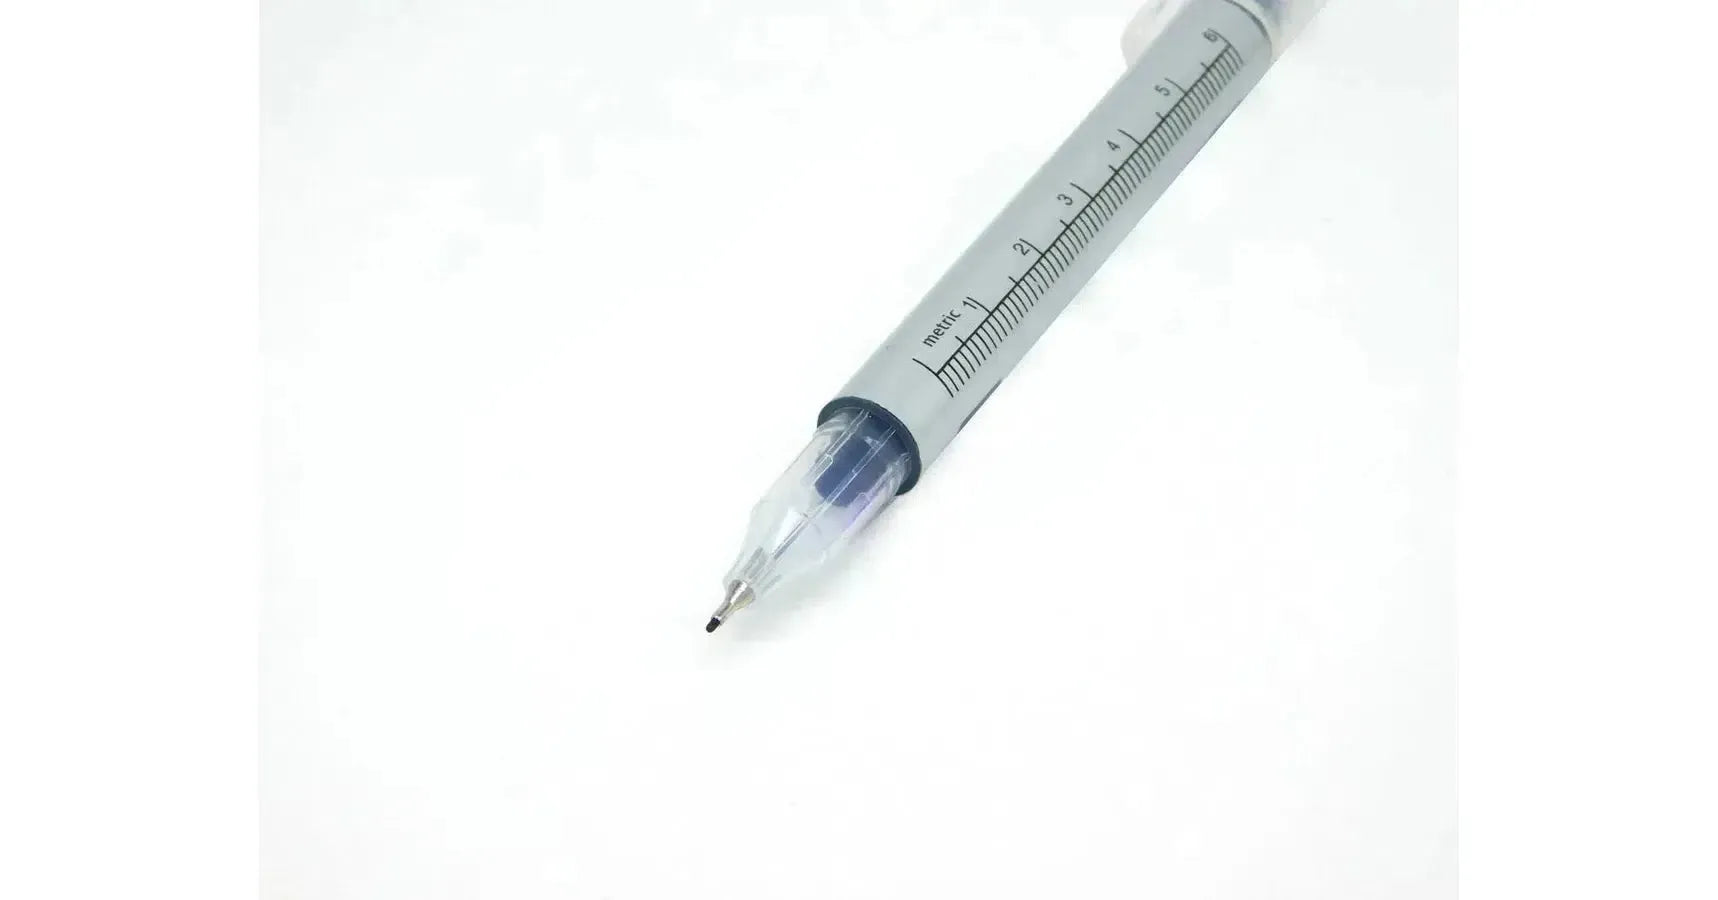
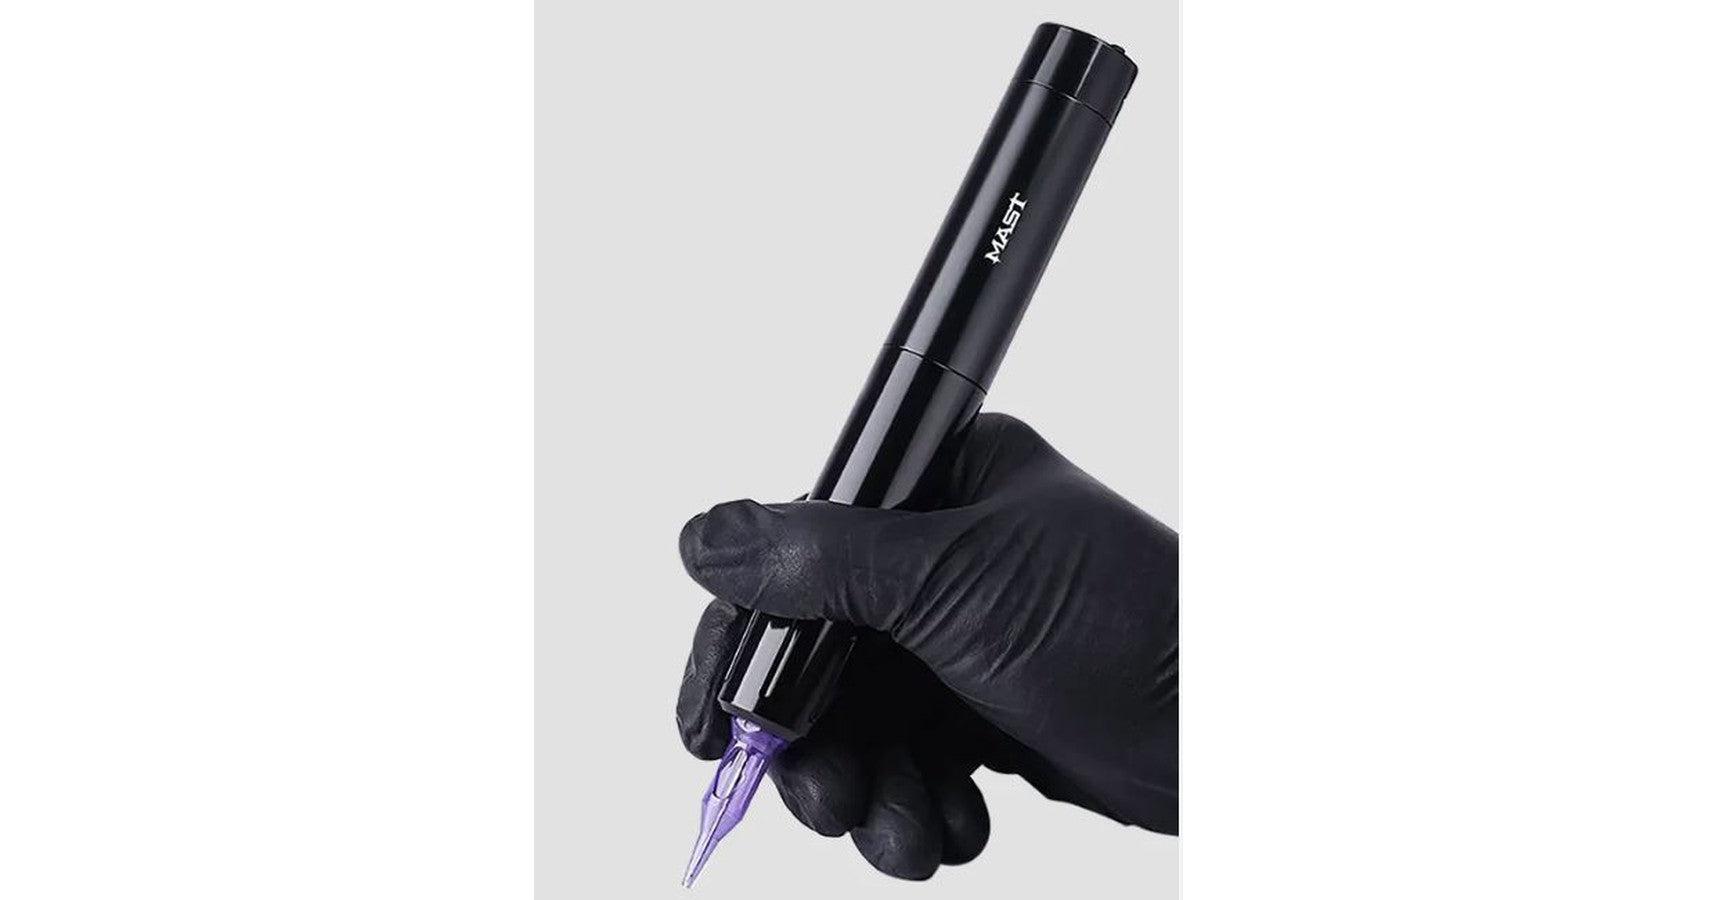
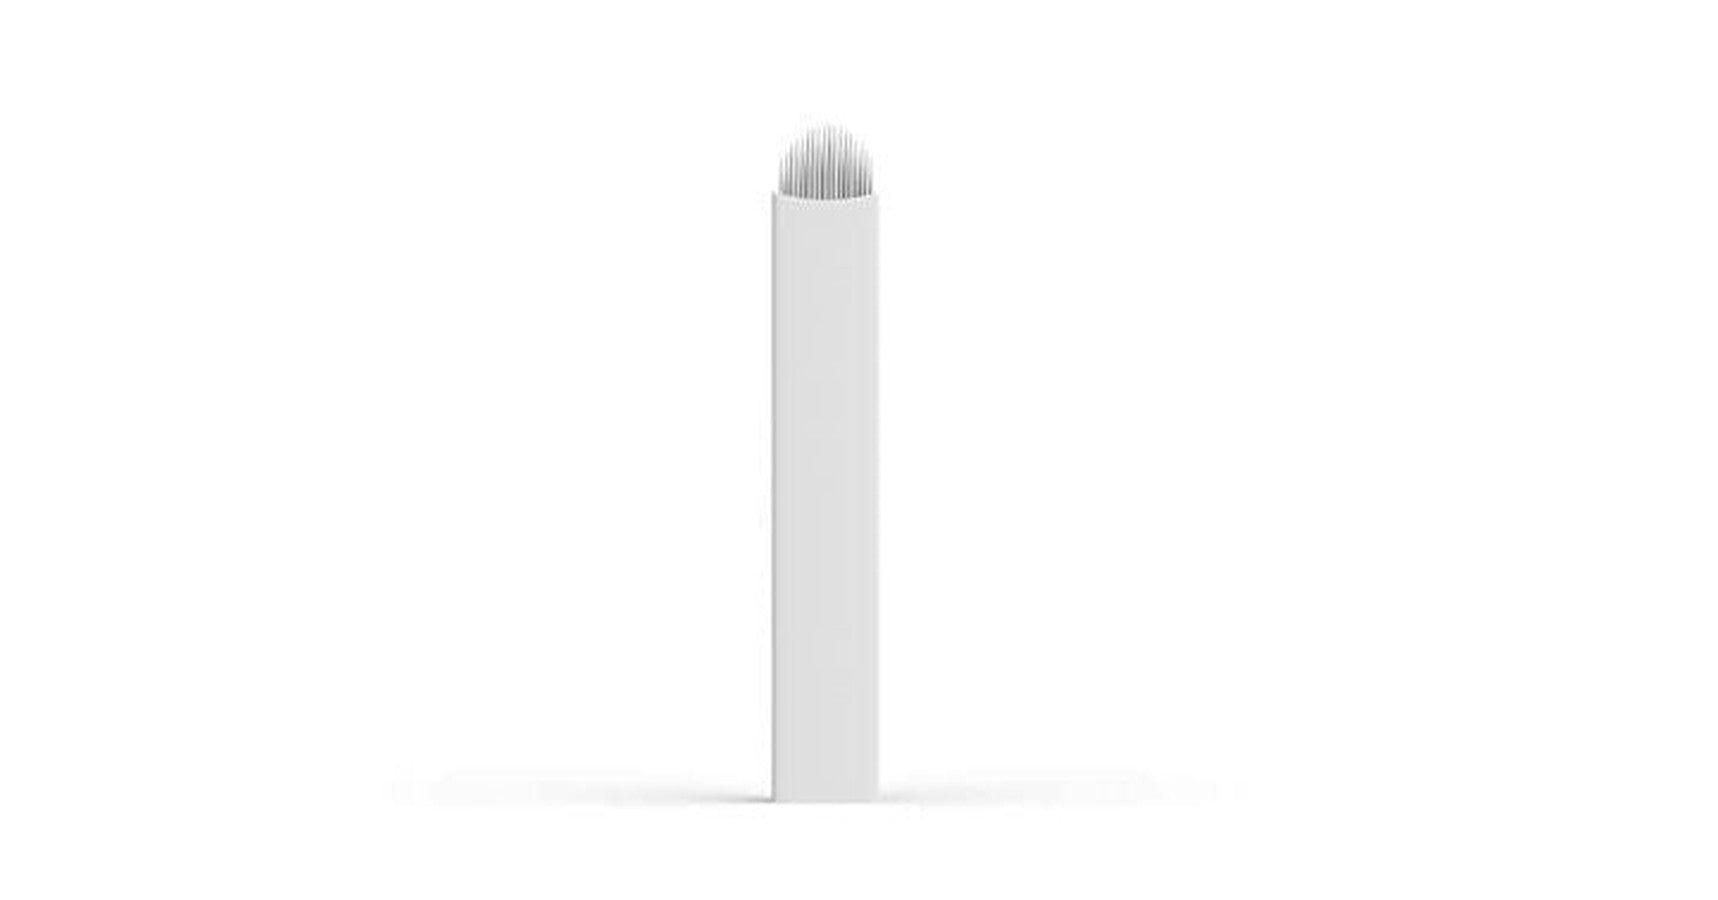
Permanent Makeup
Our Permanent Makeup collection is specially curated for professional microblading and PMU artists, offering top-quality pigments, precision tools, and essential supplies for flawless results.
From microblading blades and PMU machines to aftercare products, our selection ensures long-lasting, beautiful enhancements for brows, lips, and eyeliner. Shop industry-leading brands with fast, free shipping on all eligible orders* in most areas of Canada.
Filter
54 products
-
Sort by


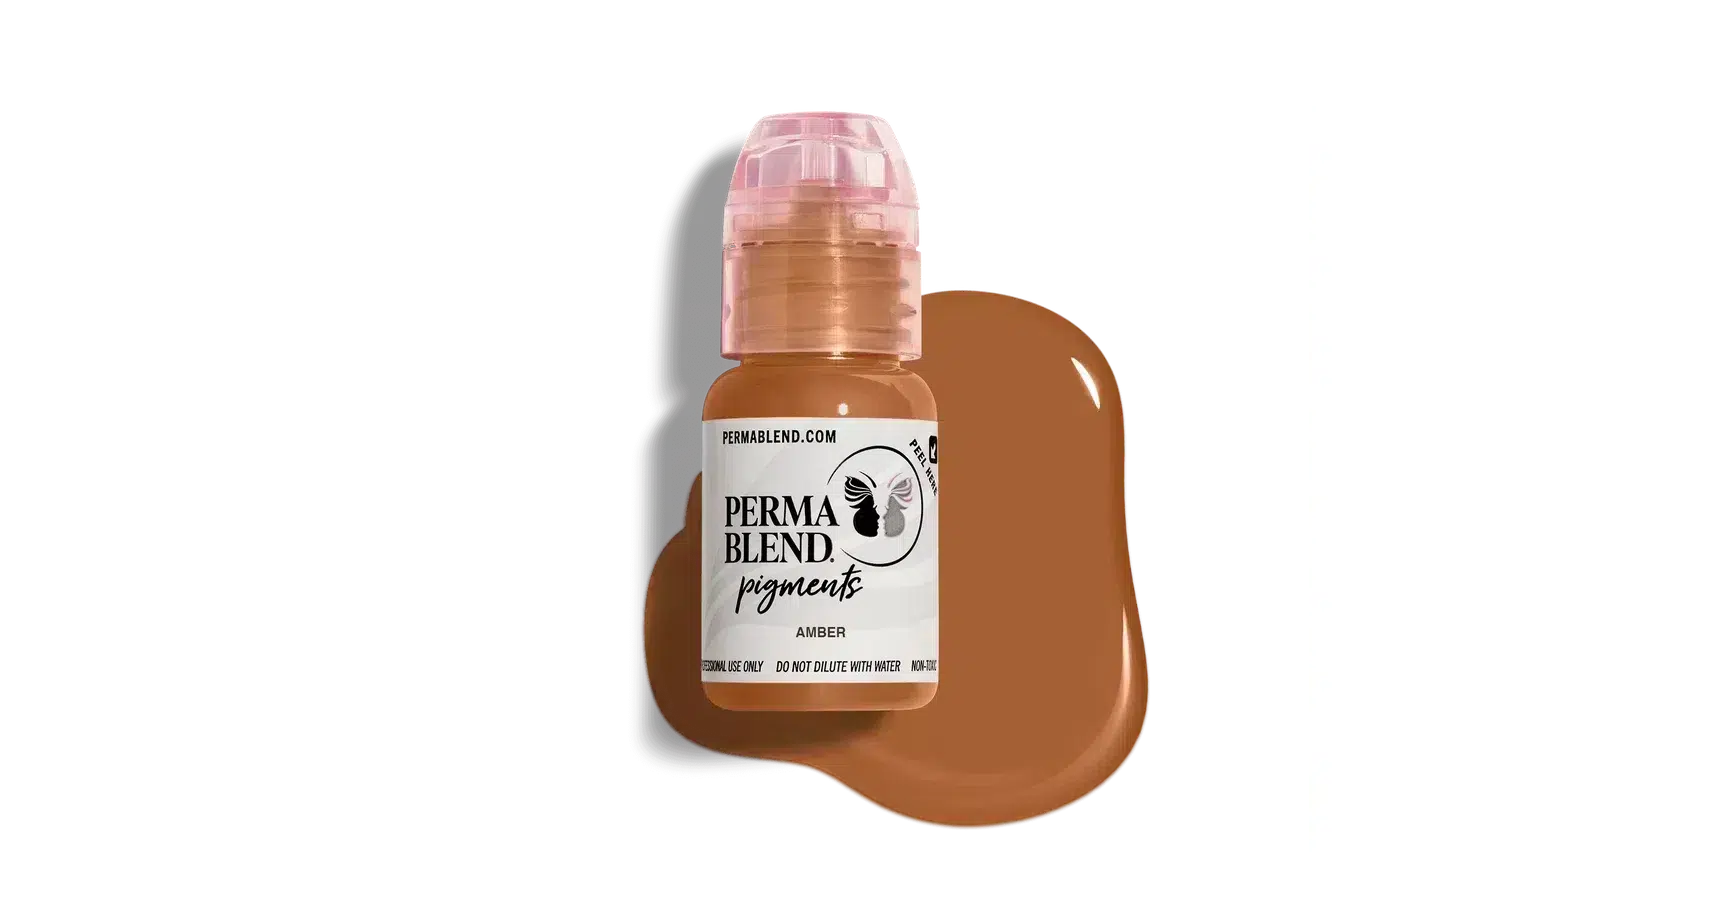

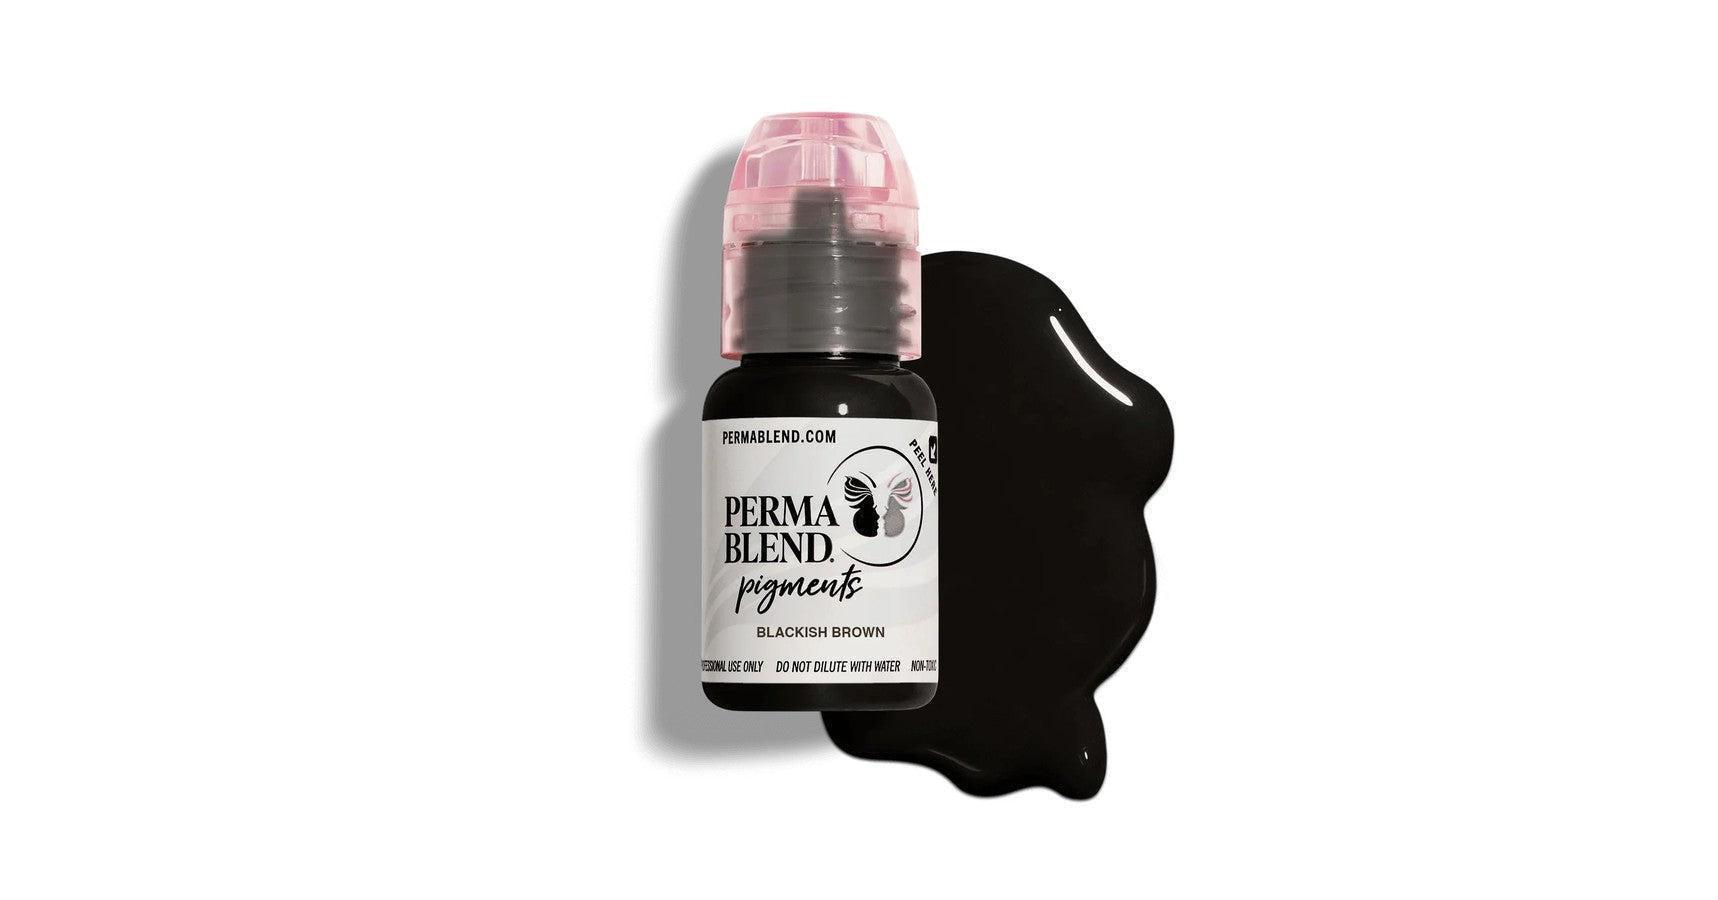


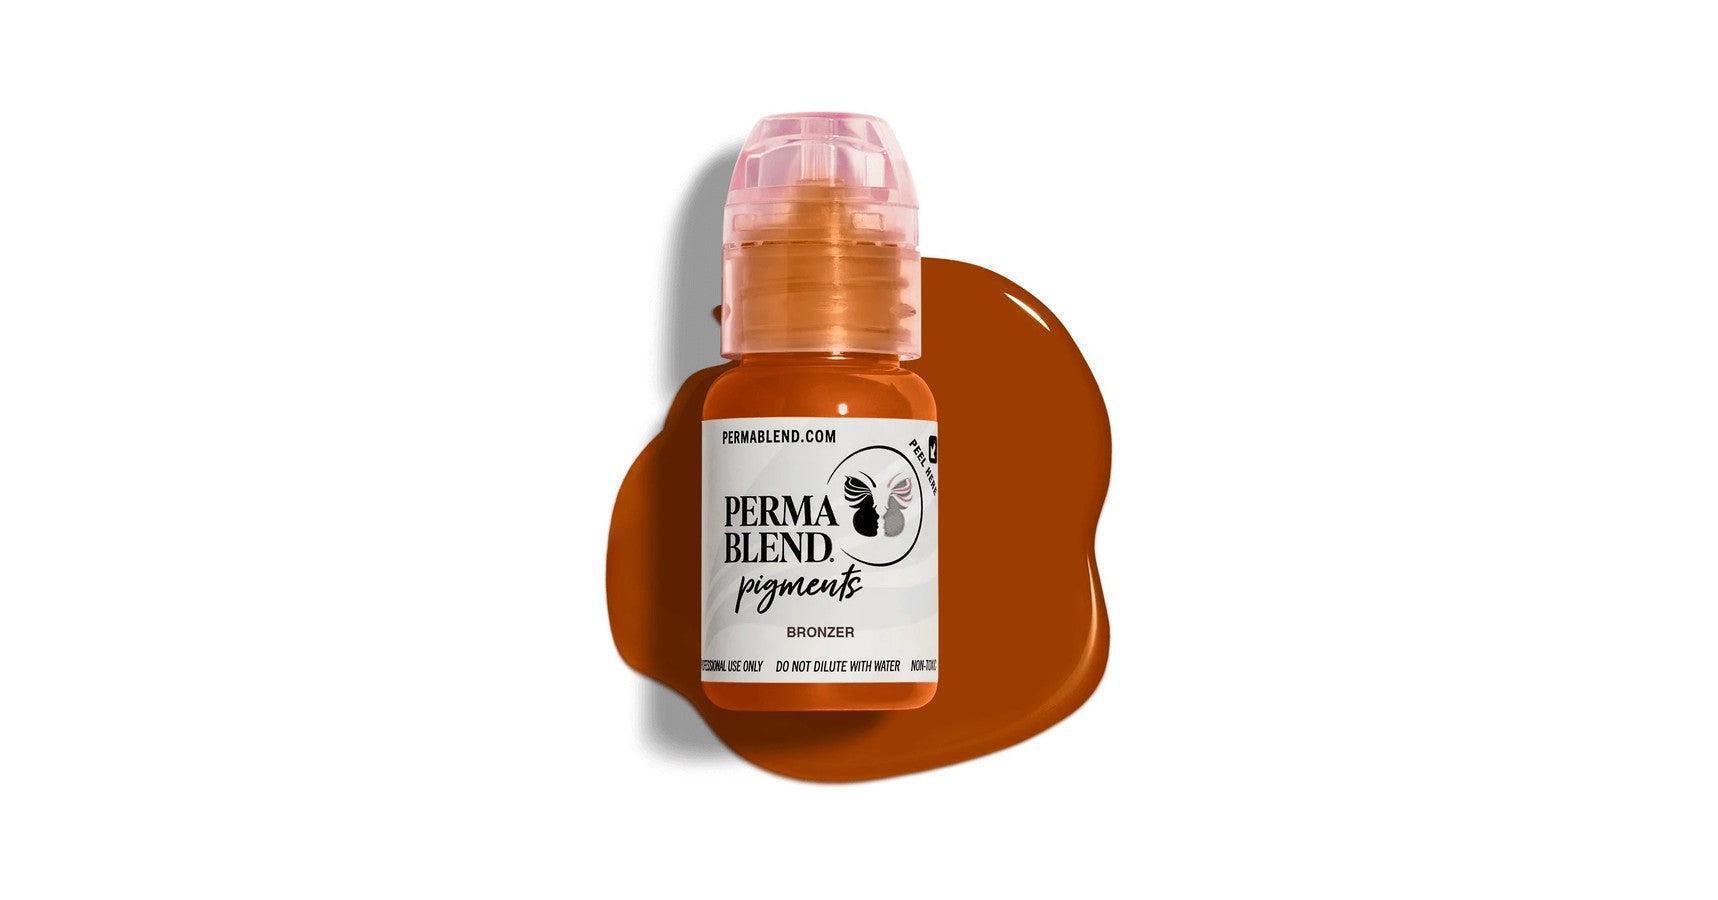

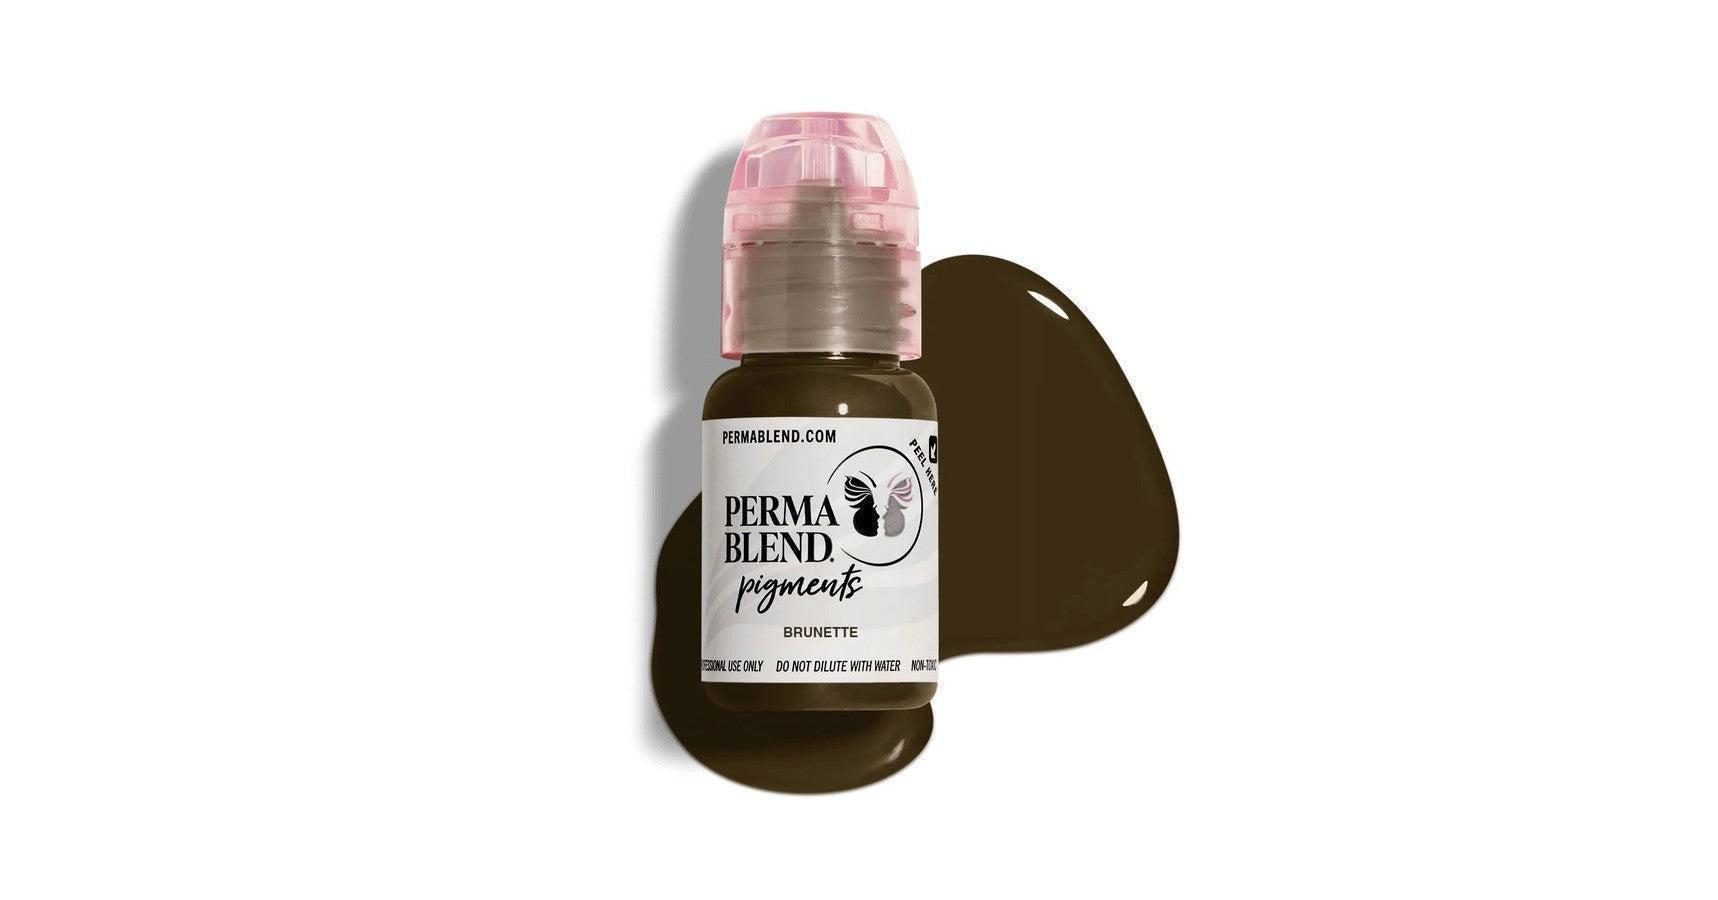


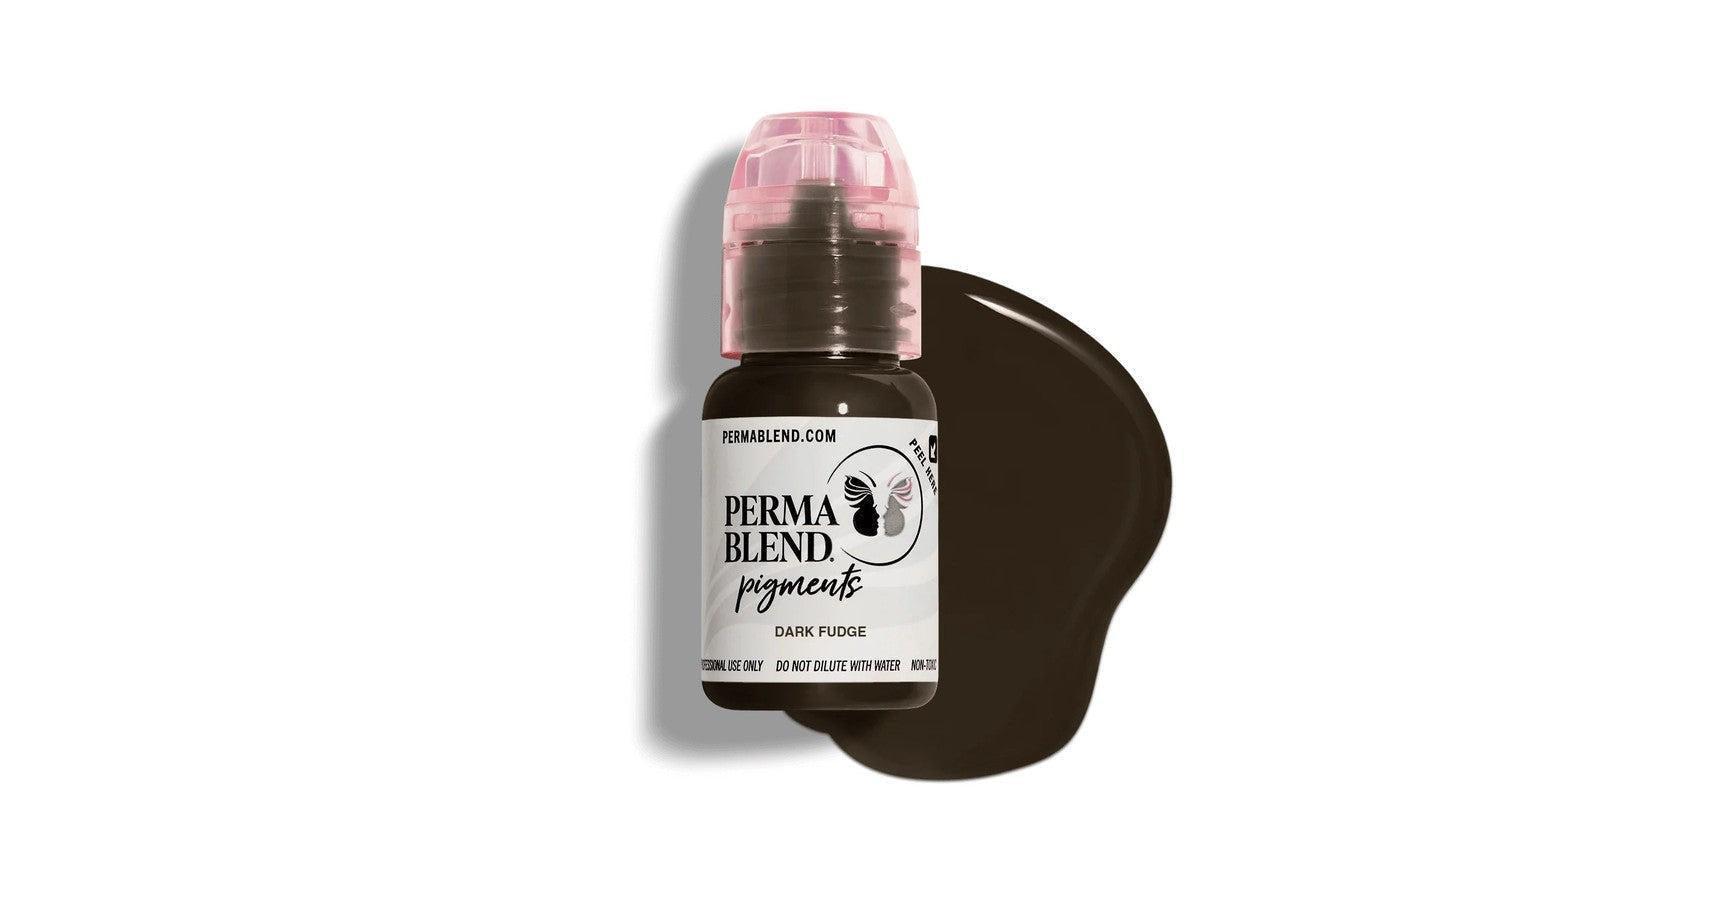


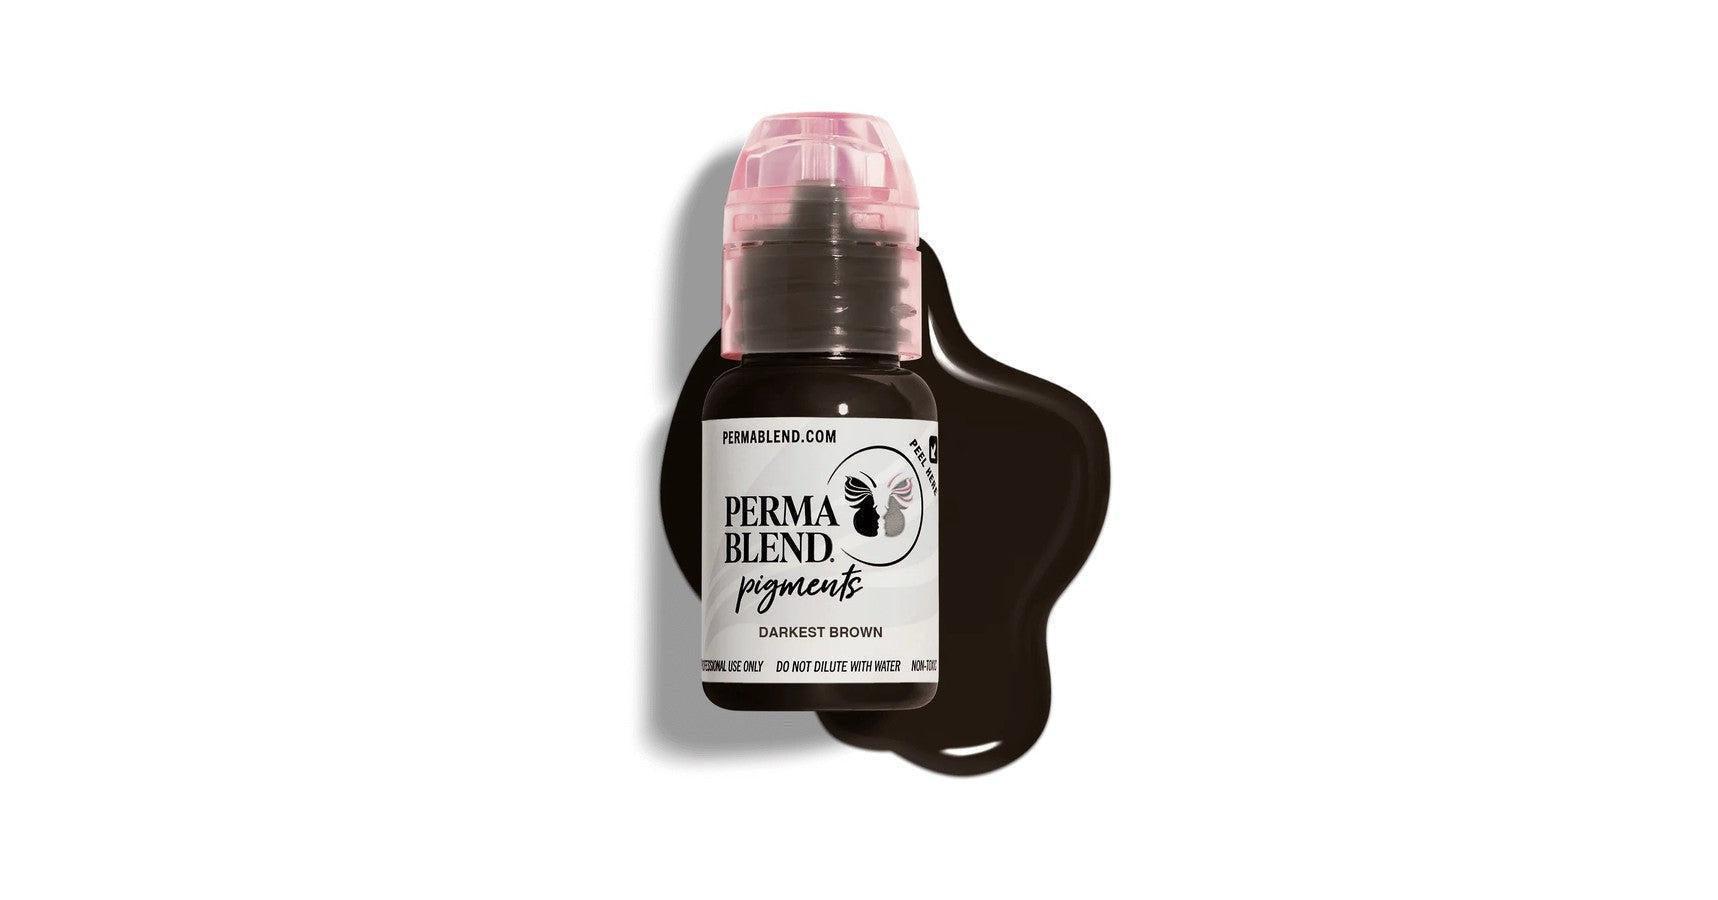


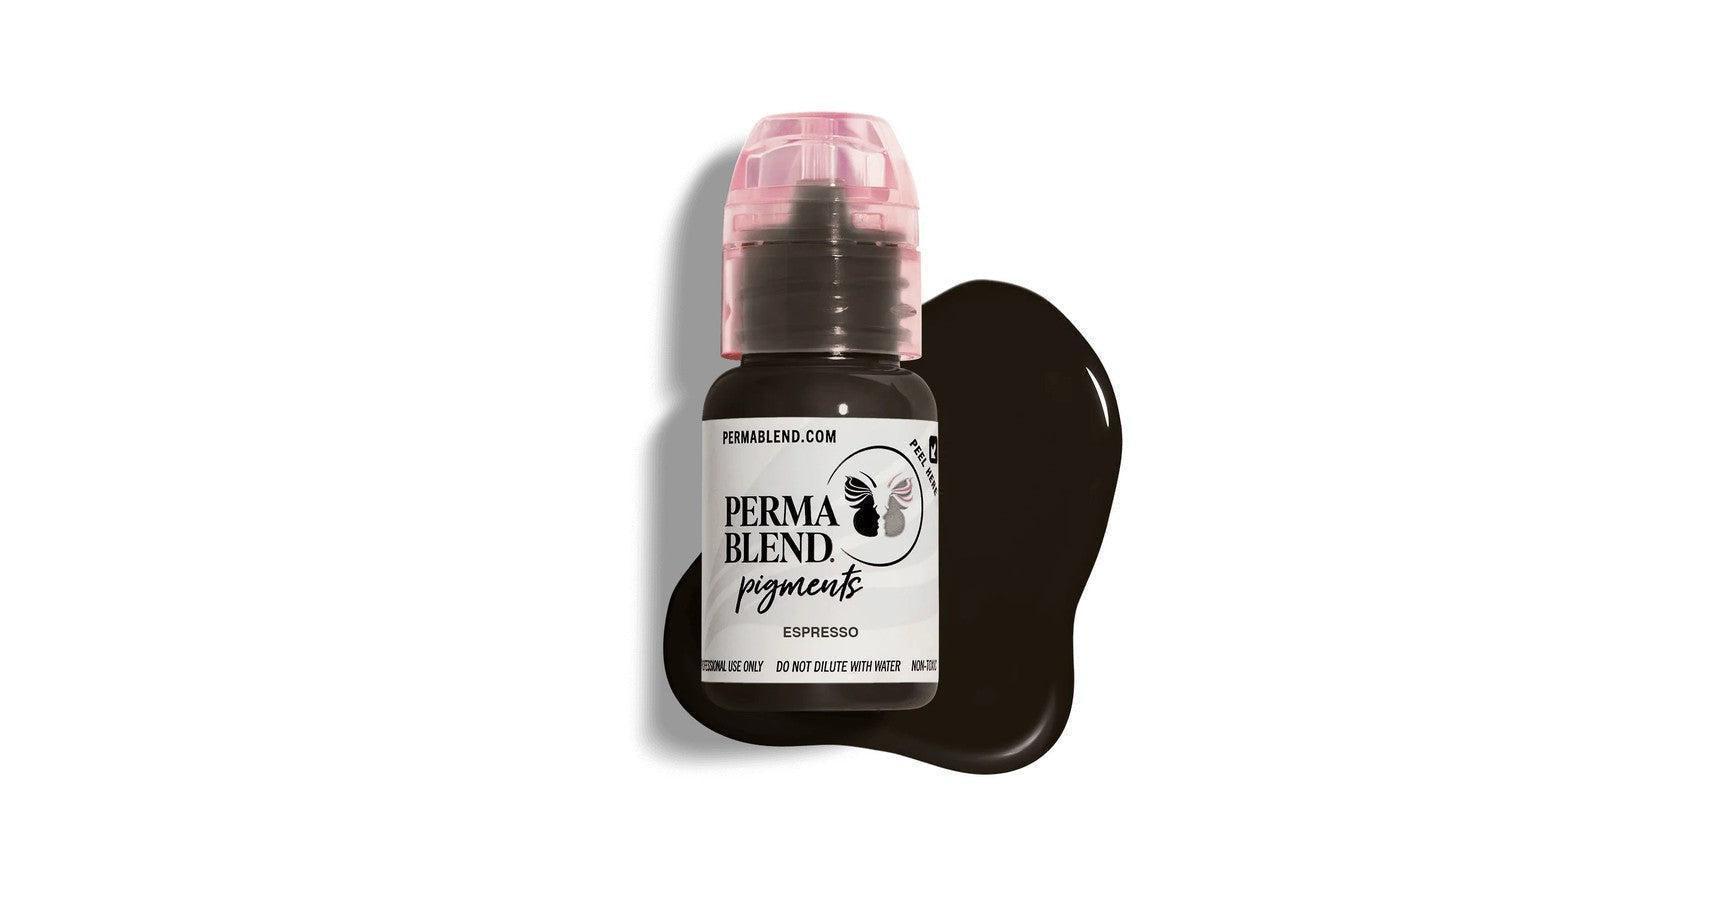


BRAND "SPOTLIGHT"
PERMA BLEND

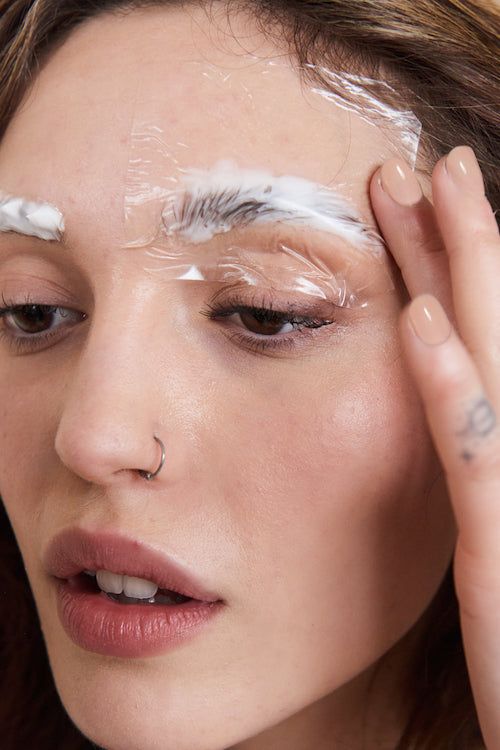
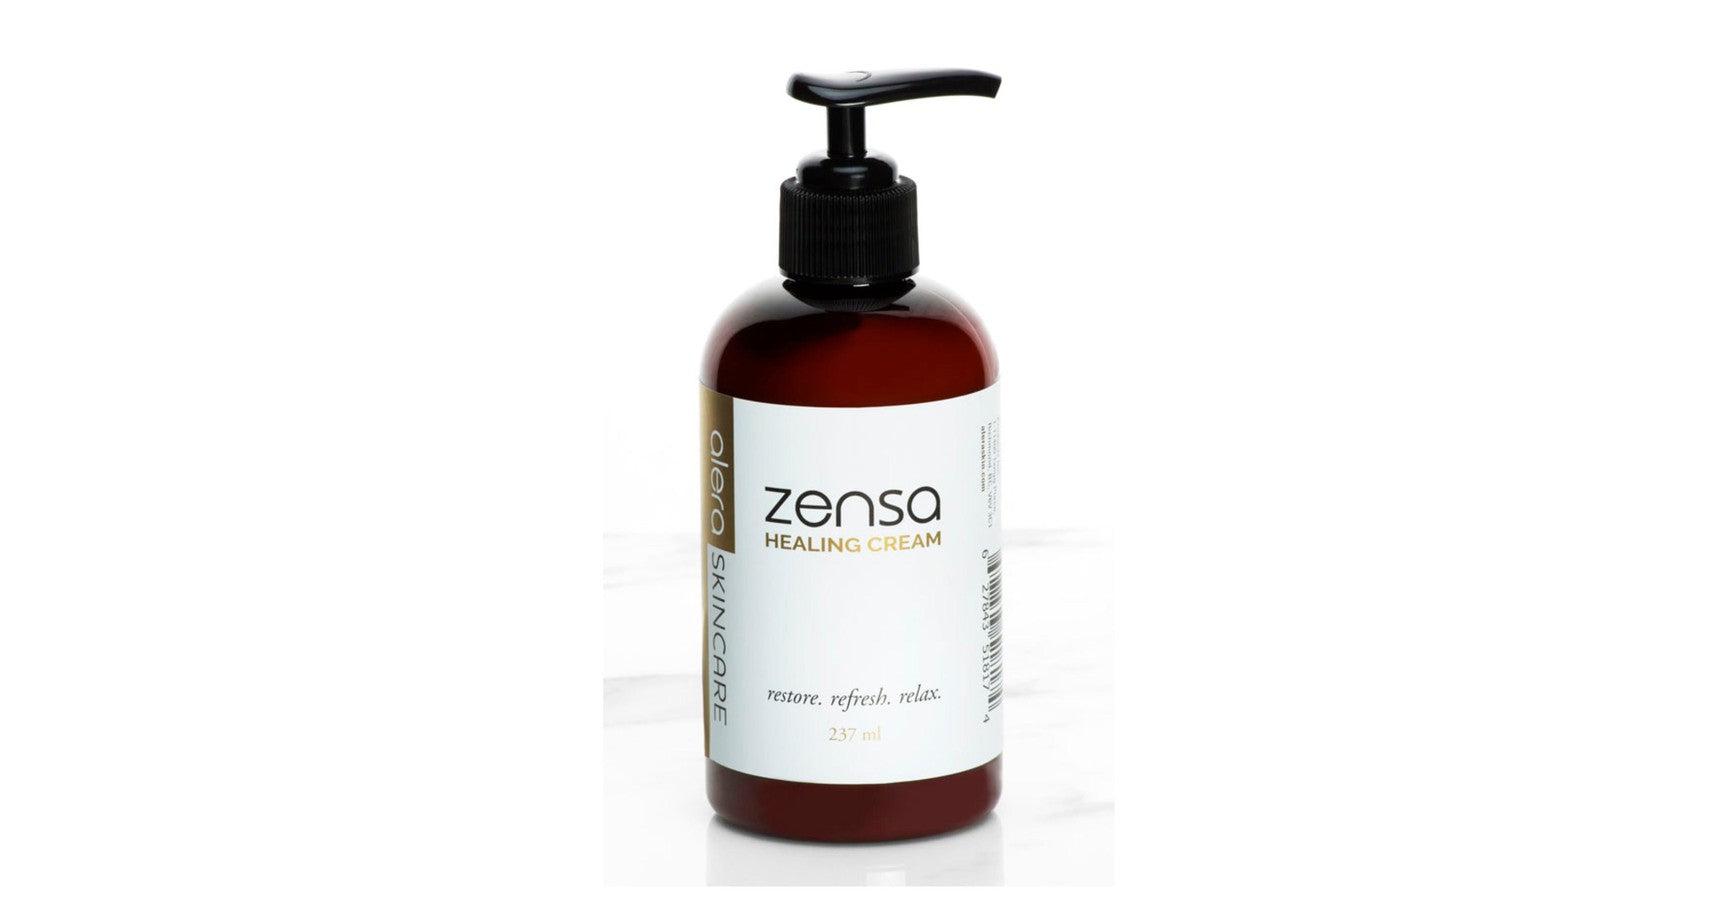
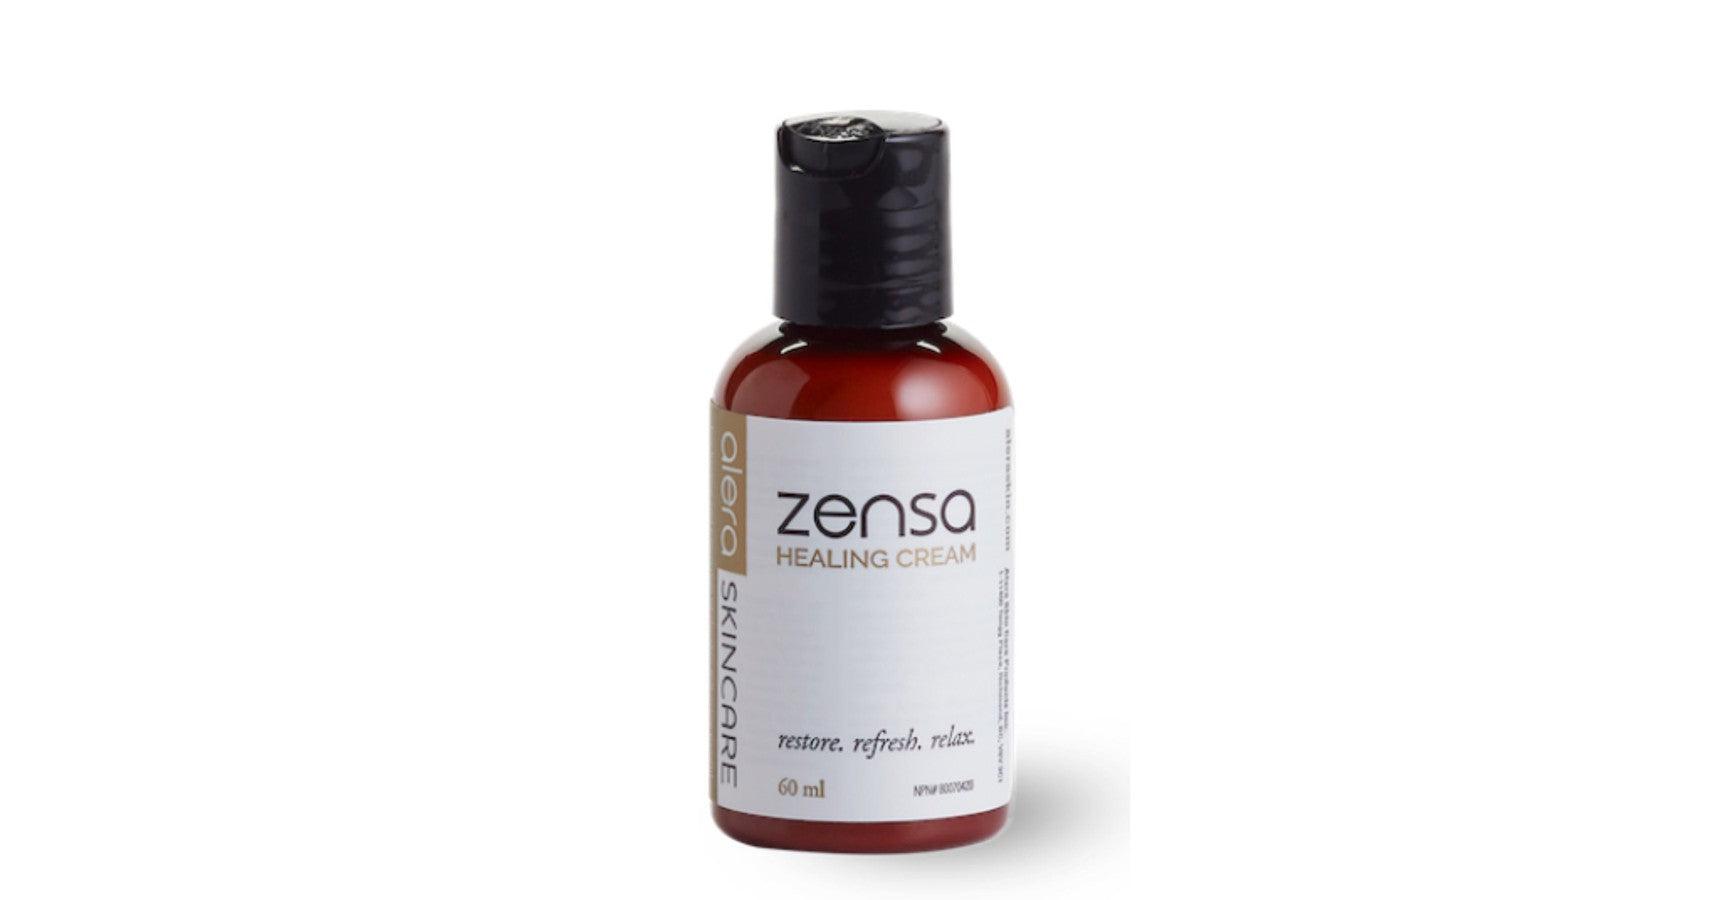
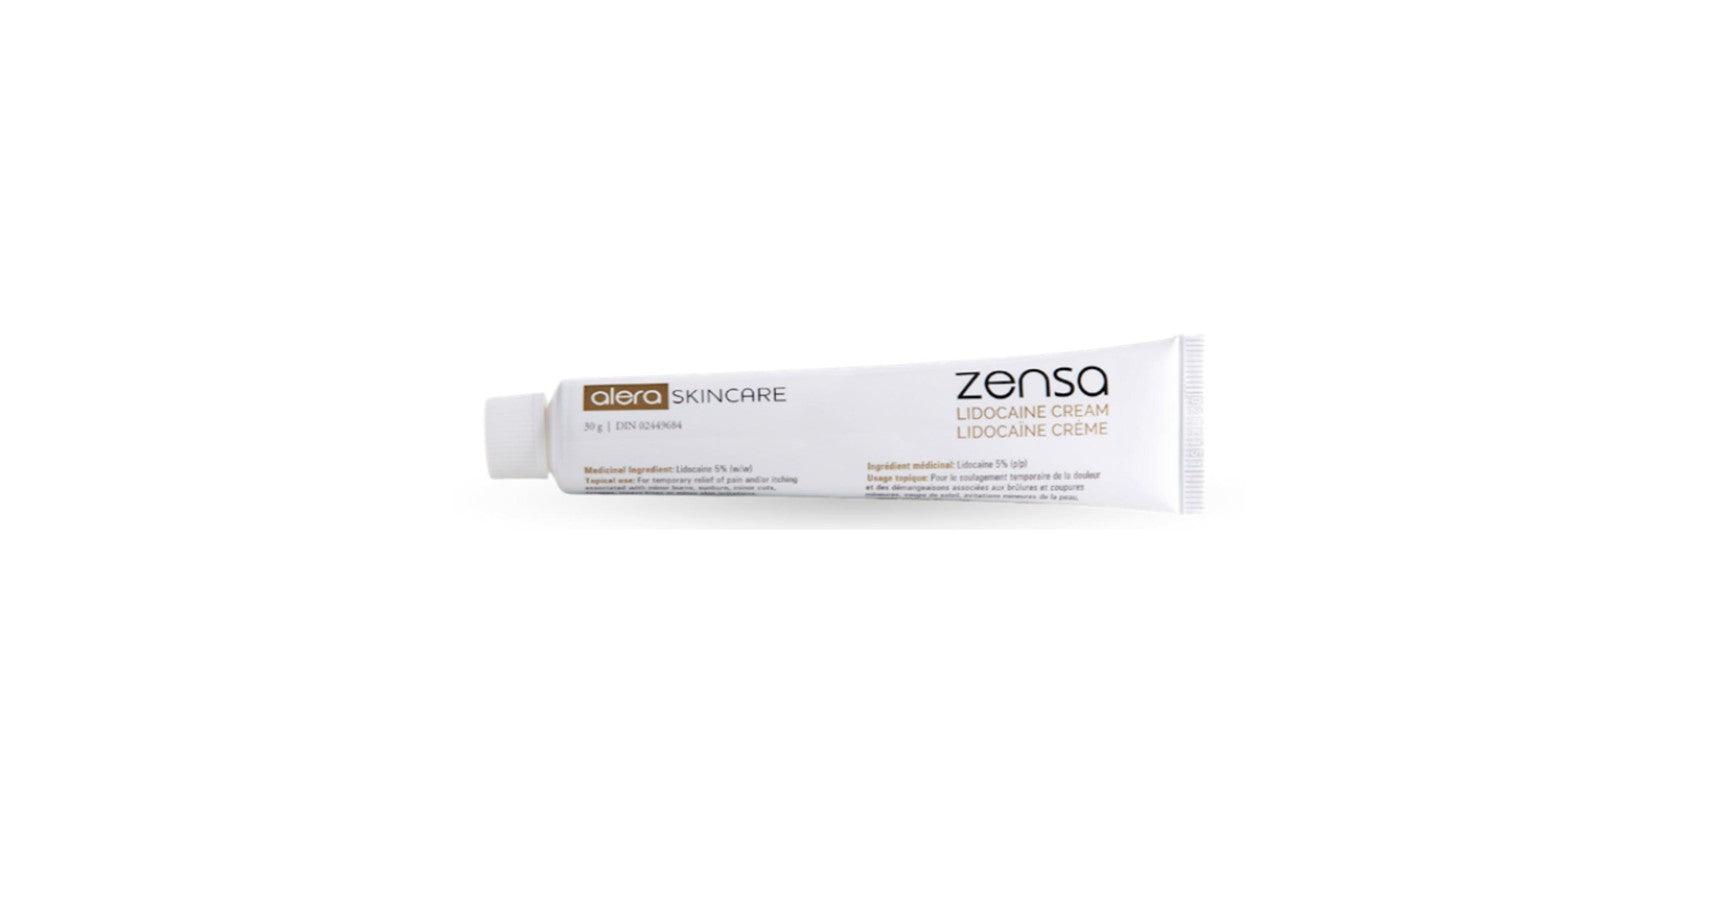
How to use numbing cream for permanent makeup treatments
For microblading, lip blushing and even tattooing, numbing creams can make the procedure less painful. Products such as Zensa Numbing Cream makes the procedure virtually pain-free. The lips are a more sensitive area so expect low to moderate pain – even with a numbing cream. When using a topical anaesthetic, many clients say that the lip blushing procedure feels like continuous small scratches on the skin.
In the days leading up to a lip blushing appointment, encourage clients to exfoliate their lips with a sugar scrub and moisturize afterwards. Clients should arrive at the appointment with soft, smooth lips which is essential for the numbing cream to best absorb into the skin (and evenly-pigmented lip blushing results).
The PMU artist should clean and dry the area before applying the numbing cream before the procedure. Zensa Numbing Cream should be applied 15-20 minutes before a permanent makeup treatment. The product should be washed off immediately before the treatment begins.

PURE. PROVEN. PAIN-FREE.
Zensa


Create a relaxing environment in your next microblading procedure with Zensa's fast-acting, easy-to-use numbing cream
-

STEP 1 - EXFOLIATE + APPLY
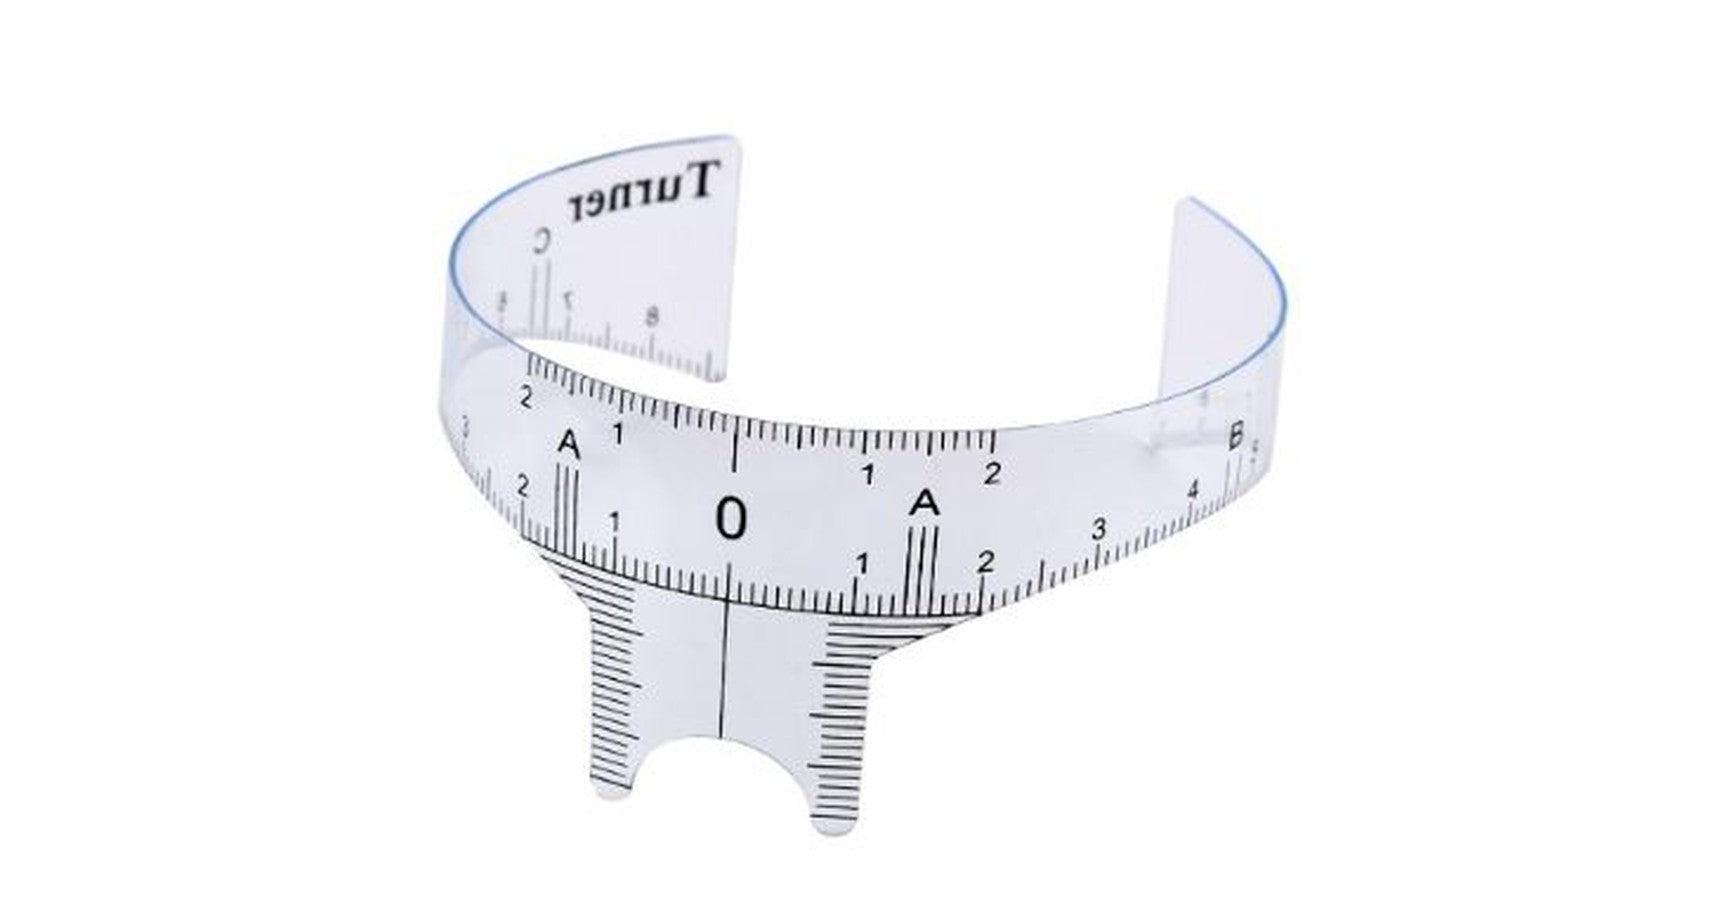
Complete your brow mapping, then use a spoolie to exfoliate the brows. Next, use a sterile applicator to apply a half-inch thick layer of cream to the area. Do not rub into skin.
-

STEP 2 - SEAL
Cover the area with cling wrap (such as Press’n Seal) for maximum absorption. Leave the cream in place for 15-25 minutes prior to procedure beginning.
-

STEP 3 - REMOVE
Remove wrap. Gently dab away (don’t wipe) excess cream using sterile gauze or a Q-tip. Begin procedure. It is safe to re-apply Zensa after the first pass, as needed.


Invalid password
Enter